Four Things to consider when buying an engagement ring
Aurora Simmons
When the time comes to pop the question to your special someone, the choice of ring can seem overwhelming.
Many decisions need to be made and factors need to be considered. This blog will give you a guide to some of the numerous options available and will help you plan for the occasion.
For most people, the sky will not be the limit in terms of what you're hoping to spend. Fortunately, there are so many factors that go into a ring, that there is a lot of leeway in terms of what you spend. I recommend coming up with a ballpark budget to begin with, and then talking to your jeweller (me I hope!) about what is possible within those parameters.
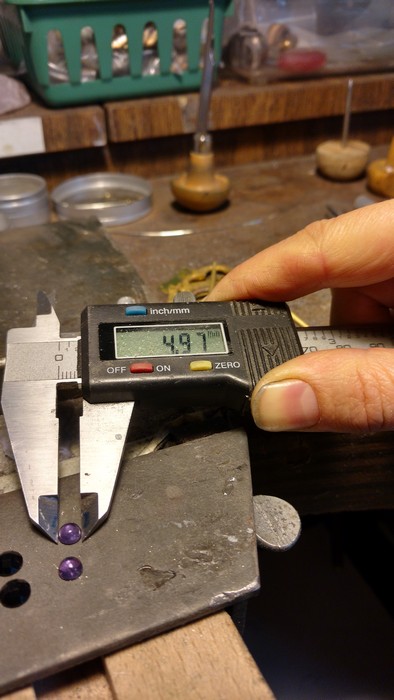
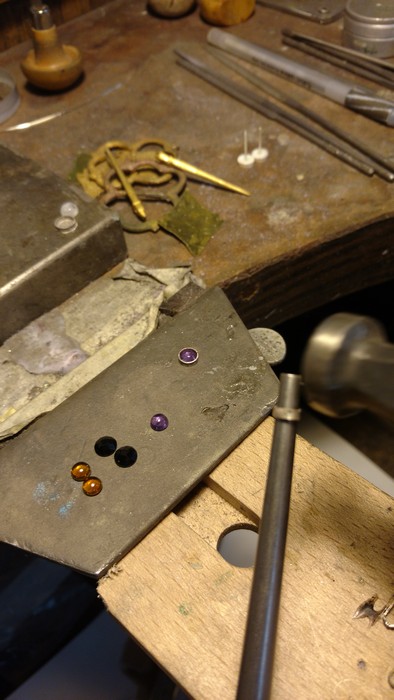
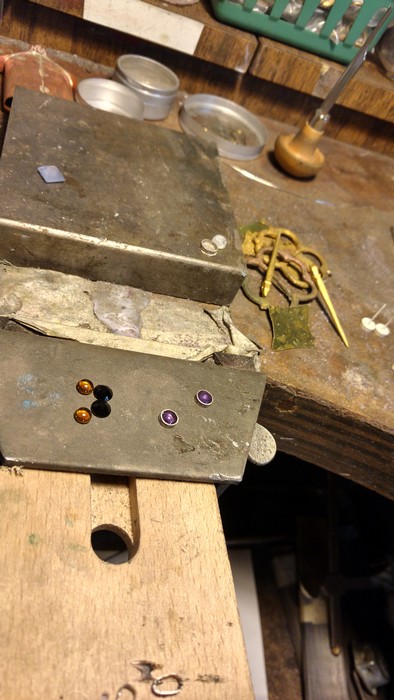
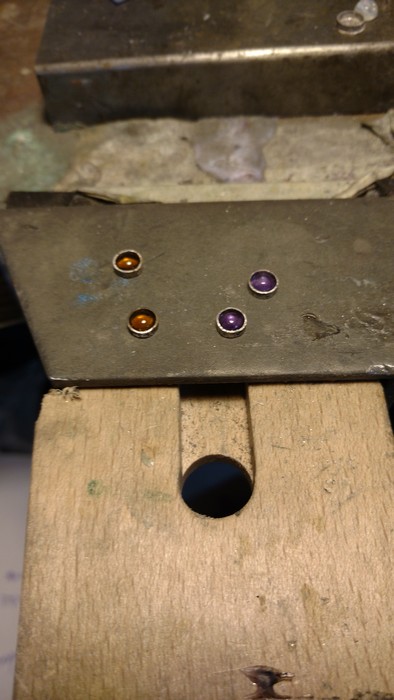
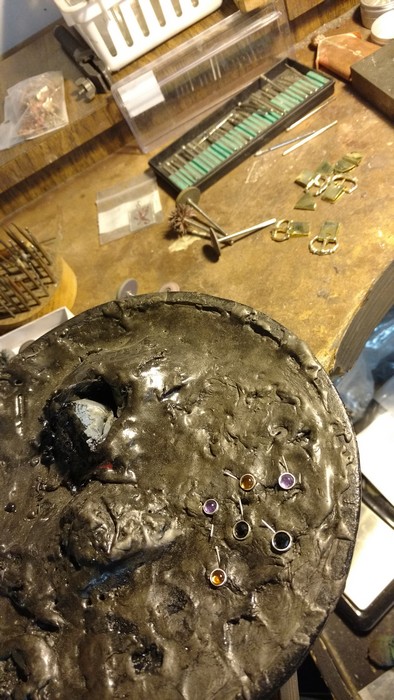
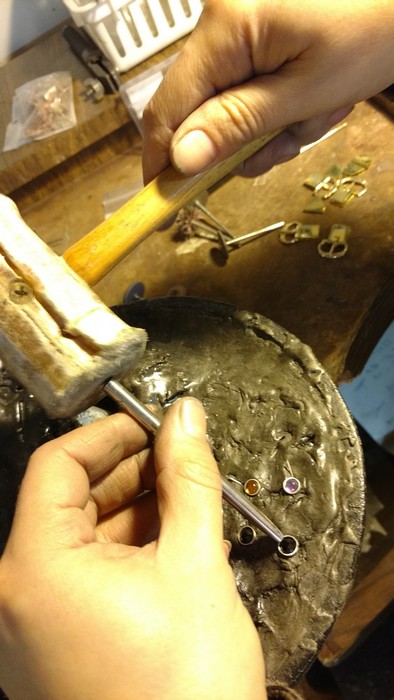
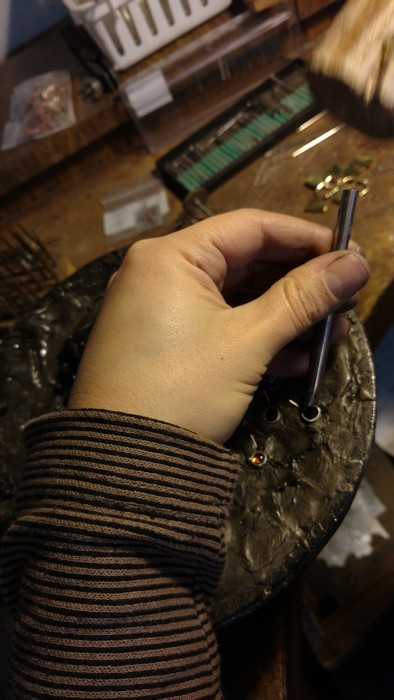
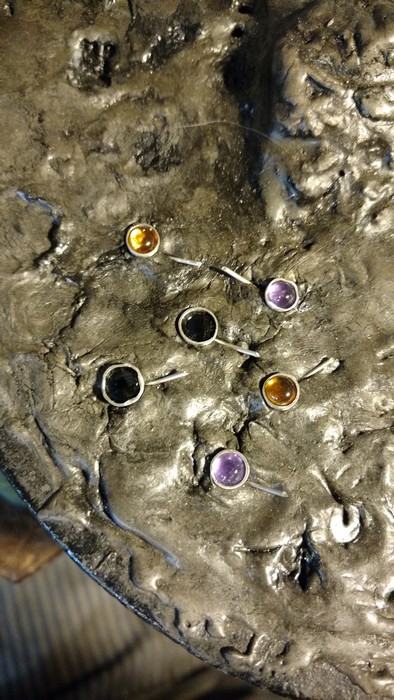
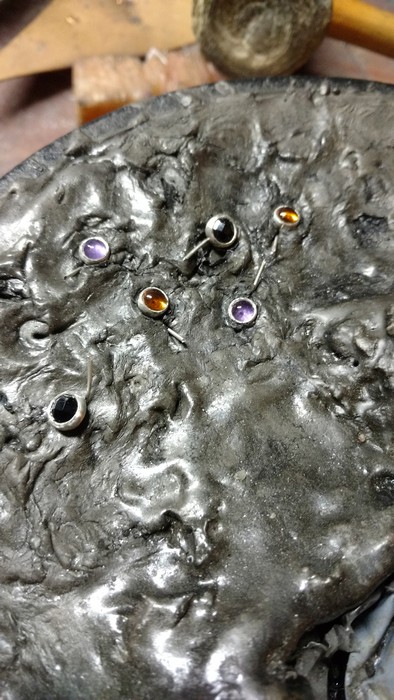
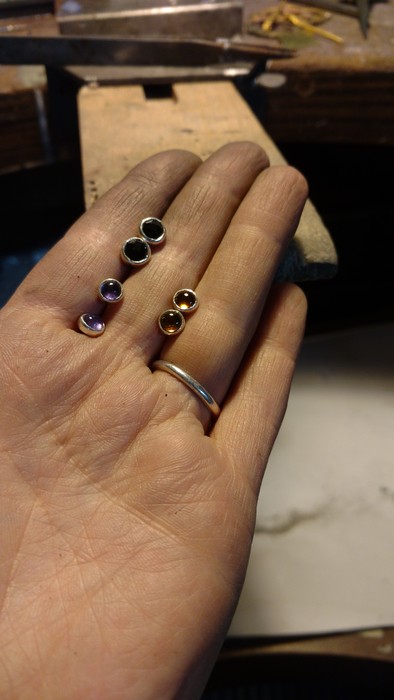
A selection of gems.
1: Gemstone:
One of the biggest deciding factors for price will be the stone, or stones, you choose for your ring. The first thing to keep in mind is durability. For a ring that will be worn every day, I always recommend something which is very high on the hardness scale; this pretty much puts you at sapphire, moissonite, or diamond. Choosing to use softer stones is fine, you just have to be aware that faceted stone will scratch over time, and cabochons will become cloudy. Resurfacing stones is not straightforward, and often not feasible, so consider that, if you are unhappy with the wear pattern of your gemstone, you may find yourself replacing the it entirely one day.
Assuming you are happy going with one of the three options mentioned above, a lot of flexibility is possible. many people think of only the classic blue colour, when they think of a sapphire. But sapphire is actually a gemstone that can come in a myriad of colours, (including the pinkish red of Ruby; they are the same family of gems) So if your partner loves purple, I recommend a purple sapphire. Orange? An orange sapphire will fit the bill. All these gemstones are 9 on the Hardness scale, so they won't scratch or chip with normal wear and tear. If you have concerns about mining practices, it can be possible to get sapphires which have been made in a lab. These will be aesthetically flawless, and will have all the same crystal properties as a naturally occurring stone, but it can be harder to find a wide range of colours.
Another option to consider is moissonite. Originally discovered on metors that had come to earth, scientists soon discovered that it was possible to reproduce in the lab. Moissonite is a 9.5 on the hardness scale, second only to diamond, and it has the same sparkling whiteness as classic diamonds. It is also a more affordable option, so if your intended likes a bigger piece of bling, but the sky is not the limit in terms of funds, I recommend this route. Moissonite is also super durable, and will last as well as a diamond.
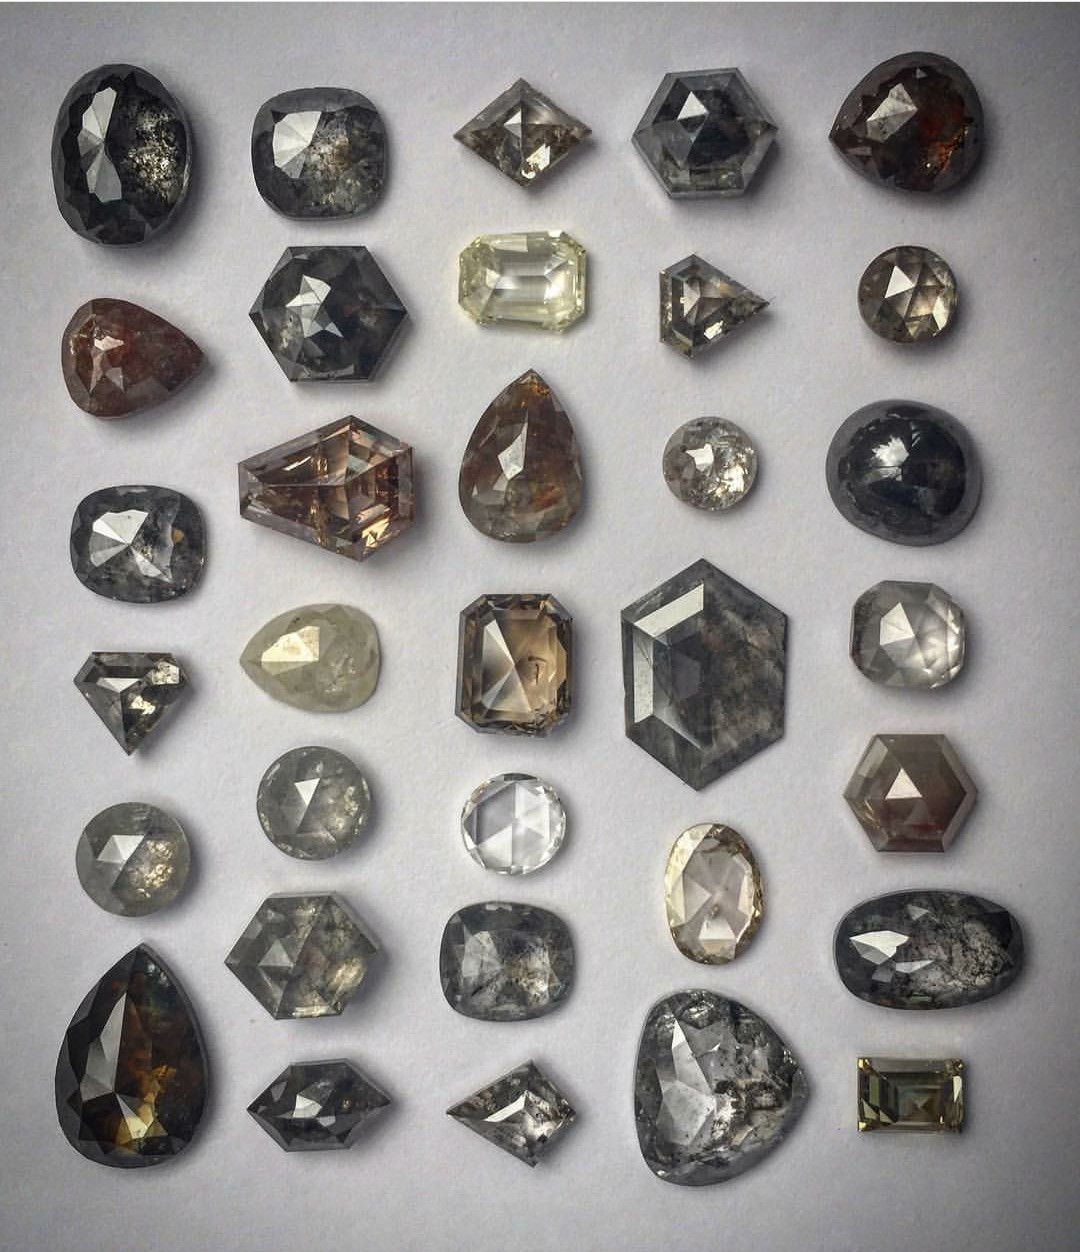
And of course, diamonds. The most classic, gemstone. I am well aware that diamonds are the best friend of many women, and if your partner falls into this category, give her what she wants. Lab made diamonds are available, they are somewhat less costly than naturally occurring stones but not by a lot. You can also get certified Canadian mined diamonds, which are considered to be conflict free, and they will run you a bit more than a regular stone. Something else to consider, are the incredible, fancy grade diamonds, which have been growing more popular lately. They have unique cuts and beautiful inclusions which give them an organic look which is full of character. Designing a ring around a gemstone like this will give you a truly one of a kind engagement ring, with the durability to last lifetimes.
Some fancy diamonds, courtesy of dreamdiamltd. Check them out on Instagram. See why I'm obsessed?
You may have a gemstone or stones already that you would like turned into a ring. This is usually no problem, however, I will begin the process by having a qualified gemologist appraise the type of gemstone. It's not uncommon for stones to be incorrectly designated, or simply a mystery, and it's best for everyone if this is established before any work begins.
2: Aesthetics
Now that you have your gemstone planned out, the fun part begins. If you would like to be inspired, I have a number of extant engagement ring designs that are abvailable or if you have something custom and unique in mind, I love working with clients to create the perfect piece for them. Be careful when purchasing to buy something you think your partner will love, rather than something you love. Our tastes can be different from our partner's and you don't want her to wear something on her hand every day that she isn't going to love.
I recommend having spent at least a little time discussing ring ideas with her before you commit to a design, or if you want it to be a complete surprise, see if one of her close friends can do some spy work for you. Pinterest is a great resource for ring ideas, and of course, there's always my wedding and engagement page or my rings page.
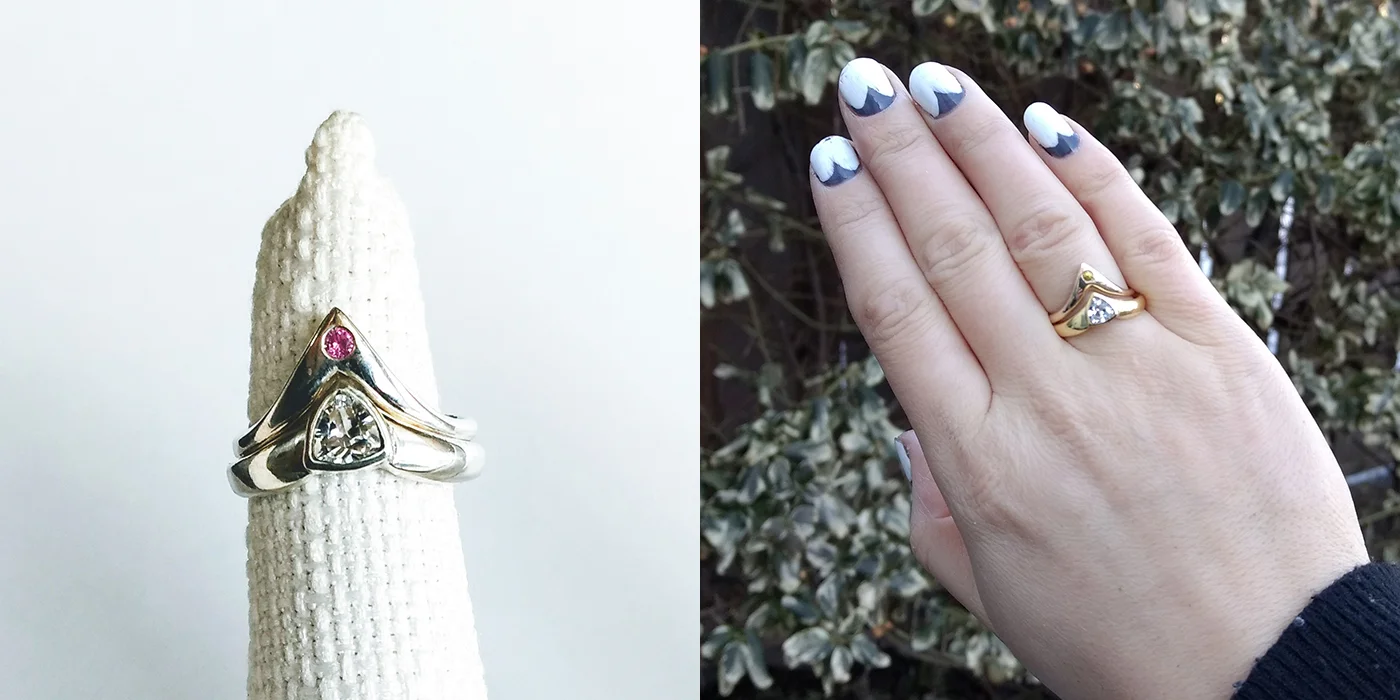
Once you choose your engagement ring design, a wedding band can be created to fit with it, so the two stack together with comfort and elegance.
An example of a stacking wedding and engagement combo in two metal colours.
3: Metal
There's a few things to consider here as well. Many people prefer white gold, to yellow gold nowadays and rose gold is also very popular. This is really based on you preference. Silver is also an option, especially if you are working under a tighter budget, but keep in mind that silver is a little less durable than gold and so some, more delicate designs may not be appropriate.
Once you chose your gold colour, rose, white or yellow, you can decide on karat. Karat is the percentage of the metal alloy that is gold. 10k means that it's 41 percent gold, the rest of the metal would be either copper, silver, nickel (if it's white gold) and potentially a few other trace elements. 14k is 58 % gold and 18 k is 75%. For engagement rings, I generally don't recommend going higher than that, since strength is lost. The higher you go in karat, the heavier the piece is, the richer the colour and the more durable, 10 karat is perfectly acceptable for an engagement ring, but 14 and 18 will have more luster and be more valuable.
Something to consider: some people have an allergy to nickel, the metal that is alloyed with the gold which makes it white. Usually a person knows if they have this allergy, but it's worth making sure before you buy. If your partner likes white metal but has a nickel allergy, palladium white gold is an option. It looks very similar, and is very beautiful, but is a bit more costly.
Platinum is also an option, for a very durable white metal, that is great for engagement rings and looks excellent with white stones.
Examples of rose gold, white gold and yellow gold, with a wide variety of design options.
4: Proposal
I am not a proposal coach (though maybe that would be a fun thing to be) but since I've been witness to a few fun proposal ideas I just wanted to send a few thoughts your way. It can be super fun to do a propose-back. If you think your partner might propose, no matter what their gender might be, I can tell you that everyone loves to feel special and be given a ring. If your partner is male consider planning a "mangagement" ring for him, either for when he pops the question to you, or if you want to get the ball rolling yourself.
If you're in a poly relationship, even if marriage isn't where you're headed, giving your partners a piece of jewellery can be a great way to demonstrate your commitment. I once had the privilege of making 4 polyhedron pendants for a polycule and it felt very special to be able to create something for them to wear that connected them to each other.
For women in a queer relationship, if your partner proposes, she will probably be hoping for a propose back so don't wait too long to give her something beautiful so she knows you appreciated her gift.
I have to say that being involved in this very special time in people's lives is incredibly fun for me. No matter your orientation or relationship type, I love being part of this process, and if you come to me for any sort of commitment jewellery, I will make sure that you and your partner's needs are met to the very best of my ability.
There's a lot to know about jewellery, and I will always work hard to help you plan your project and to make sure you are as well informed about your options as possible.
Hope you enjoyed my slightly nerdy blog, and I would be delighted to answer any and all questions you may have on the subject in the comments.


